The traditional method for storing keepsakes and logging memories is to start a scrapbook. What happens, though, when kids start to churn out chunkier, 3D art projects? The ideal solution is a memory box.
They are not just storage solutions though. Memory boxes are ideal places to collect articles of family history, childhood anecdotes and records of childhood growth. They are most simply places to stash memories and items that will trigger recollections of happy times, maybe a holiday, a party , a birthday or another year in a child’s life.
Memory boxes are something to be looked at regularly and treasured, maybe they will be safely stowed away in an attic for posterity’s sake or they make the most wonderful gifts for a parent, friend or grandparent. Memory boxes are readily available in the shops and are now often bought in kit form so kids can enjoy constructing the finished article. Not only are they more expensive but they aren’t unique or individual.
Making your own memory box is a great shared activity between parent and child. It shouldn’t take any longer than about half a day and will create some new and important memories in itself.
Choosing a Box
Choose the right size box to suit the needs of the project. If the box is going to relate to a holiday, a shoebox may suffice whereas as memory box tracing a childhood will need to be much bigger.
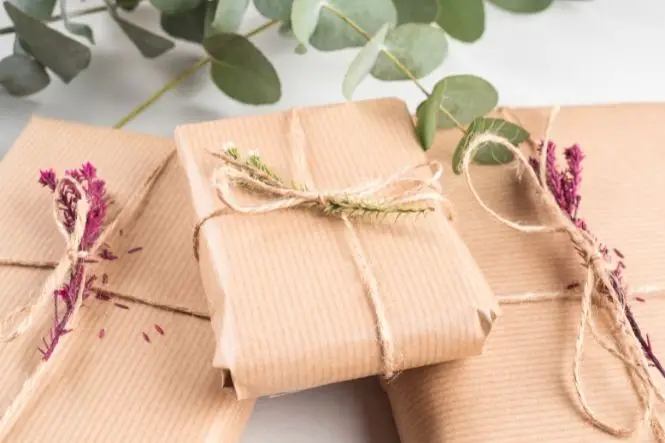
Start by decorating the outside of the box. Think about some of the items the box will contain and try and reflect this in the decorations. If your child wants to make a Christmas or birthday box- cover it in wrapping paper. If it’s a birthday box, cut a panel of card to make a label for the lid of the box. Mark out the child’s name or initials and this can either be coloured in or let the kids go crazy with glitter, stickers, junk jewels etc.
A really effective and fun way to decorate the outside of the box is to start by covering it with coloured paper as a background. Then select a big batch of photographs with your child and photocopy them onto plain paper in black and white. The next step is to ‘distress’ the photos. This is simply some ‘careless’ scissor work that makes the edges of the snaps frayed and uneven.
Kids love pasting the photos onto the box with lots of PVA glue, the messier the better, make sure they overlap and they are all higgledy-piggledy. Don’t worry, the PVA glue does dry clear and the overall effect will be eye-catching when finished. Similar effects can be achieved by using scraps of fabric or swatches of wrapping paper to make a patchwork.
Always take care to leave a clear area on the lid where the contents of the memory box can referred to with initials, a date or an event.
Inside the Memory Box
The contents of the memory box are an ongoing project that may take weeks, months or even years to complete. Each memory box contains a potential treasure trove of kids’ crafts to be enjoyed and discovered.
- Try making a mini photo album with some decorated card, a hole punch and ribbons to bind the photos together.
- Using the same technique, create a little book that the child can decorate and design outlining who they are, what they look like, special memories, favourite friends, food, songs and toys etc.
- Art projects (make sure each is labelled with a date and initials)
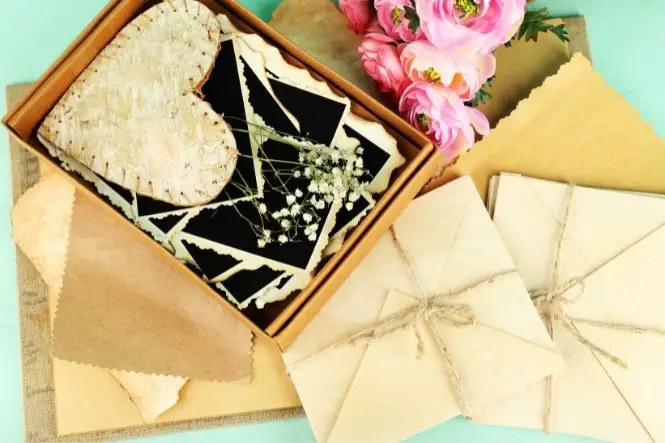
- Other things to include are souvenir leaflets, tickets, pressed flowers, certificates etc.
Making a memory box is the simplest craft you can share with kids; it covers a vast range of skills and crafts. Making the most of valuable time, it records equally valuable memories and is a keepsake that will be treasured forever.