So many children dream of knights and fairytales. The trouble is, readymade knights’ costumes rarely match up to the dreams. The answer is to make your own outfit; it’s a great craft project for adults and kids to share, involving lots of designing, planning and fun activities.
A Knights Helmet
This is probably the trickiest part of a knight’s costume to craft. The best material to use is corrugated cardboard as it’s a little tougher and will stand up to more battles.
Take a long rectangle of card and check it will fit the young knight’s head snugly. It should reach from well below the chin to the top of the head so it covers the entire face. Secure tightly at the back with sticky tape.
Find the front of the helmet and press it into a neat crease so that the helmet has an ‘angle’ at the friend- giving it an authentic knight’s helmet shape- almost like a teardrop.
Now mark and cut out a narrow rectangular slit at the front of the helmet so the knight can see his or her way for jousting and battling.
Finish off the helmet by covering it all in a layer of aluminium foil to make a nice shiny surface.
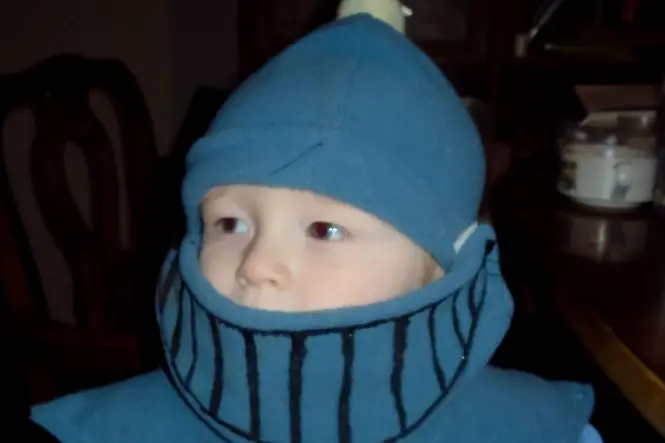
To complete the helmet, the knight might want to don a grey balaclava type hat, so that the top of the head is covered and a realistic look is achieved.
A Tabard and Suit of Armour
A Knight’s tabard is a simple affair. Take a large pillowcase and cut a hole at the top for the head and holes either side for the arms.
Using fabric pens, kids love to go mad creating a crest, possibly based on a motto or a family interest. This is a great exercise in design. Alternatively a simple red Knight’s Templar cross is just as effective.
Secure the tabard, when worn, with an old leather belt which will double up as the perfect scabbard belt for a sword.
Add armour to the outfit by cutting appropriate sized and shaped pieces of cardboard.
Cut out two ‘body’ sized squares of the stiffest cardboard you can find. Attach the two pieces of cardboard together using strong pieces of elastic at the shoulders and waist. This forms a simple tabard shape again.
Now cover the armour smoothly with lengths of shiny silver foil. If the knight is a princely one, add jewel-coloured paper cut outs to decorate the armour.
The same principle can be used to make pieces of armour for the arms and shins. Cover two toilet roll tubes with foil for additional pieces of armour at the wrists.
If the young knight wears something like a plain grey tracksuit under the outfit, the overall effect is very good. If you wish a simple, brightly coloured cape can also be added.
A Sword and Shield
No Knight would be complete without a sword and shield.
For obvious reasons, the sword should be made of a strong yet flexible material- like cardboard. Cut out the relevant shapes, a long narrow length for the blade and a cross-over piece for the hilt. Cover the entire weapon with silver foil and decorate the hilt with some bright mock gems.
The shield is just as easy and uses a large round piece of cardboard, again covered with foil. Knights’ shields are often decorated with a crest or emblem; this can be designed and drawn on a plain piece of paper which is then pasted and fixed to the front of the shield. Attach a loop from string or card at the rear of the shield so it can be rested on the arm during battle.
Creating a homemade Knight’s costume with simple kids’ crafts is much more fun than buying one. It’s a chance to recreate exactly the outfit the small warrior sees in their imagination, brimming with personal touches and their very own handiwork.