Father’s Day and Mother’s Day is a time for children to show their love and appreciation for two very special people. A vast industry has grown up around the traditions, all paid for with pocket money. So perhaps the best way for children to mark the occasions is with homemade gifts created with fun kids crafts. The results are cheaper and more meaningful and a chance to enjoy some old-fashioned family fun.
Scrapbooks
A proudly presented scrapbook is the most personal and touching gift a parent could possibly receive.
Children can either use a shop-bought book or make their own with some simple kids crafts. They should start by gathering a selection of card in different colours. With some adult help they punch holes in each card to make the binding. To complete the book, thread two loops of satin ribbon through the holes.
Putting the scrapbook together will fill many happy hours. Some kids crafts they can put to good use are:
- Drawings of Mummy or Daddy, brothers, sisters or pets.
- Poems about family life.
- Photos of happy times and family fun.
- Lists of things they like best about Mummy or Daddy.
- Collages of mementos like tickets and clippings.
The special scrapbook never fails to thrill and it’s a keepsake that will be treasured forever, long after Father’s Day or Mother’s Day.
Chocolate Indulgence
Another popular gift for Mummy and Daddy are homemade chocolates. There are some really simple goodies that kids can rustle up in the kitchen.
They’ll enjoy making chocolate truffles. For these you will need:
- 250g good quality chocolate
- 7 tbsp double cream
- Something to ‘finish’ the truffles with – some cocoa or desiccated coconut, for example.
Start by melting the chocolate. This is a grown up job. Put chunks of chocolate in a bowl above a saucepan of simmering water. Don’t let the water touch the base of the bowl and melt gently, chocolate separates if overheated.
Gently warm the cream and add to the melted chocolate. Bring the mixture together and refrigerate for about an hour.
Separate the truffle mix into small teaspoon size portions and roll each into a neat ball. Finish each truffle by rolling it in the cocoa or coconut to coat.
They could try delicious Peppermint Creams. For these, you need:
- royal icing mix
- peppermint essence
- green food colouring (optional)
- good quality plain chocolate (optional)
Grownups will need to begin by using enough boiling water with the icing mix to make a stiff paste.
Now add a few drops of peppermint essence. Go easy, it’s powerful stuff! The kids can take over again and will enjoy kneading the paste until smooth.
Roll the paste out to a thickness of 1cm. Cut out into rounds. If you don’t have a small enough cutter, use a plastic milk bottle screw-cap.
Allow the creams to dry out thoroughly and finish by dipping half of each sweet in melted chocolate.
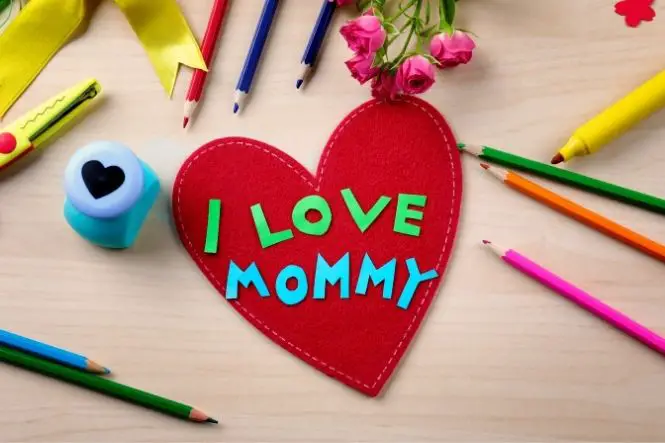
Special Cards
One of the loveliest traditions is a nice card for Mum or Dad.
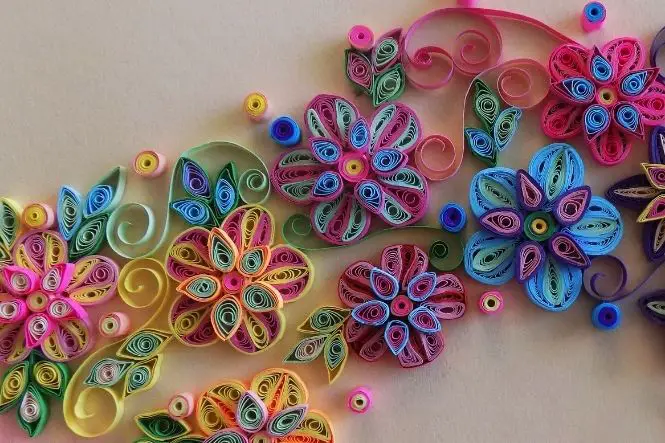
- Make a flower card for Mums with easy kids crafts. Take a blank card and stick three or four green drinking straws to it, cut to length to make flower stems. Add a cluster of flower heads to make a colourful bouquet. This is simple with lots of tissue paper rolled into balls and glued in place.
- Mum and Dad will both love a photo card. Cut a shape from the front of the card, using a simple stencil. From the reverse of the card, fix a photo in place using a glue stick. Now cover the back of the photo with a matching piece of card so it looks tidy. However, part of the charm of kids crafts are little mistakes and imperfections!
- For Dad, try an out of this world card! Use a black card for the project. With a bottle top as a stencil cut small planets from coloured card. Make a rocket using a long rectangle and triangle cut from a thick piece of corrugated card. This will give the space craft a raised look. Colour the rocket or wrap in silver foil for a space age touch. Now stick the rocket to the card with ribbons of orange tissue paper for flames. Glue the planets around the rocket. Finish by dotting the card with blobs of PVA glue. Sprinkle the card with silver glitter and shake to remove the excess.
All Mums and Dads cherish the cards and gifts their children give them. On these special days, the most treasured are those handmade with love.